
Tags
crafting, crafting on a budget, crafts, DIY, Family, Furniture Refinishing, Furniture Rehab, furniture transformation, pinterest, Staining Furniture, upcycling, Wood Furniture
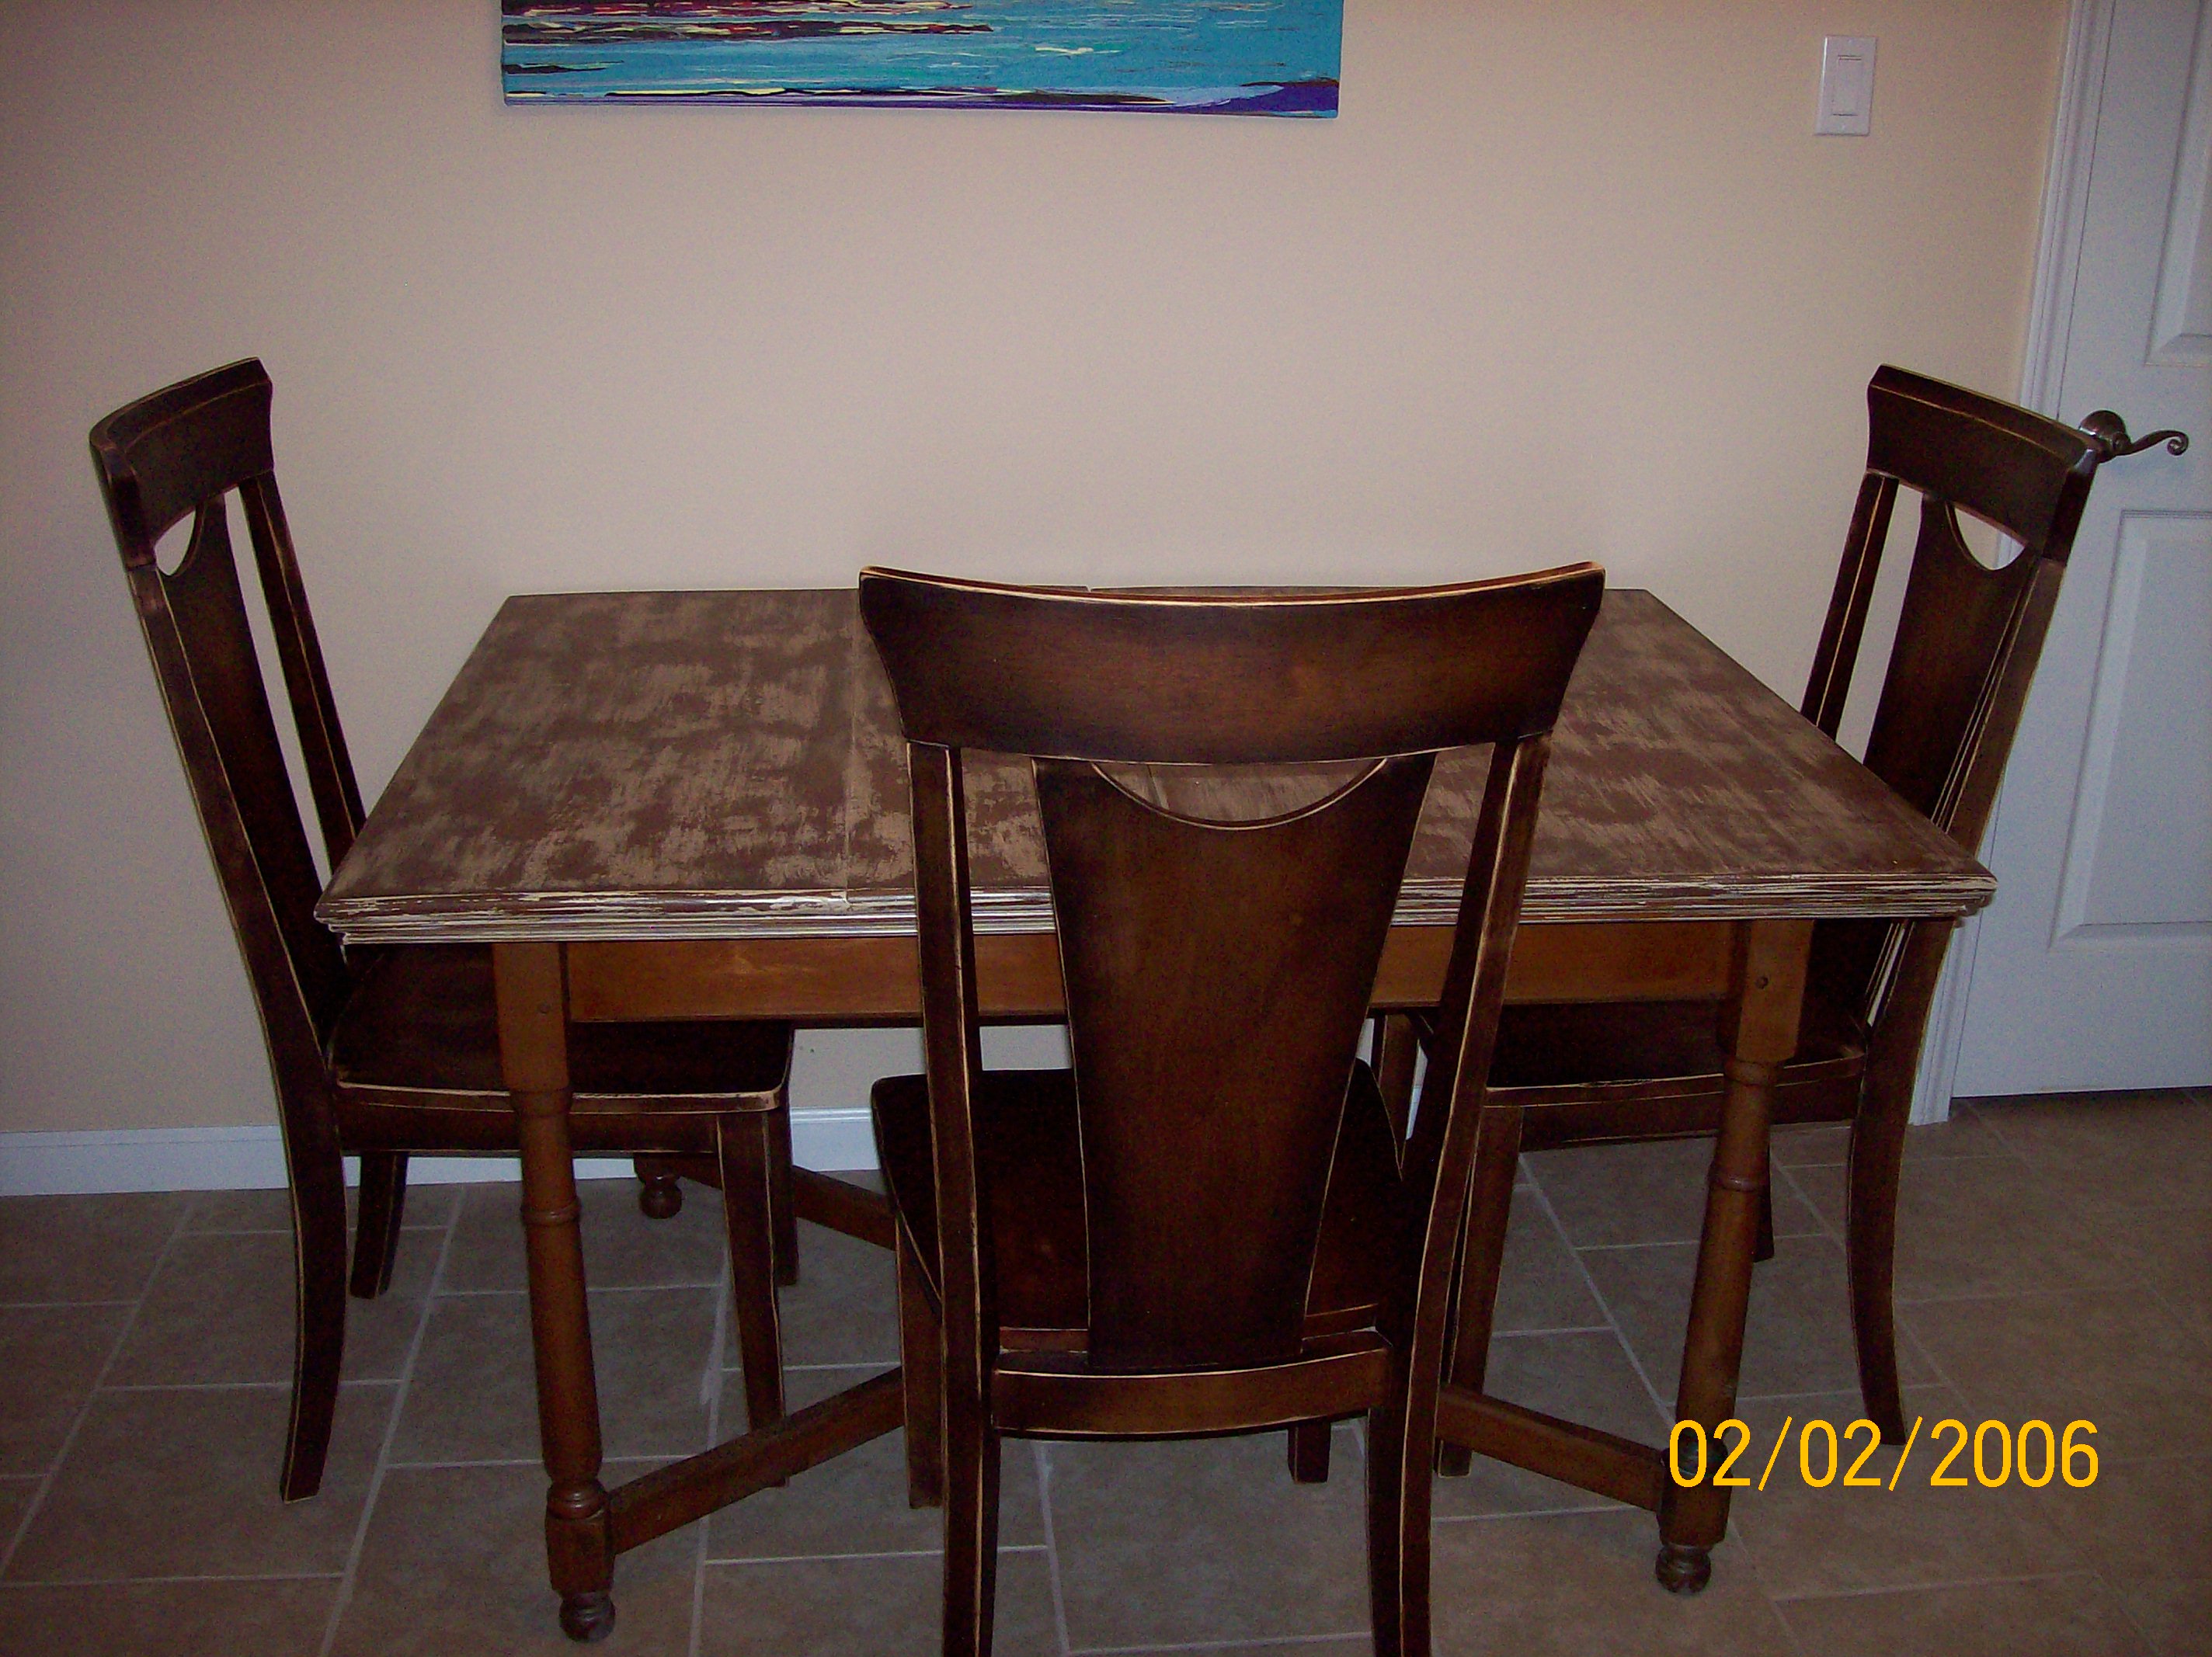
I guess I can’t do a small wood project… This time I tackled an old dining room table.

We have a cute little bistro table right now. There isn’t anything wrong with it except it’s little…too little to have company over. This is a HUGE problem for me!! I love to entertain…have friends over for dinner and drinks…big family dinners…the whole deal. Our last place would only hold this little gal but at our new place I can get away with something a smidge bigger. But I didn’t want to spend a fortune on another table & chairs set, Mr Man is still a little sore that I’m getting rid of the bistro set since we paid close to $400 for the set. OUCH!! I guess I better make this redo exceptional!! ![]()
Of course I forgot to take a before pic of the table as we found it…Oops!! But after reading up on A LOT of different distressing techniques I ended up winging it. Kinda funny. I did a rough sand on the top like any other wood project then I ‘patchwork’ painted the top in a bunch of neutral colors, some latex (Oopsie paint) some acrylic.

I re-sanded the whole table top leaving some of the new paint, some of the old stain and some back down to bare wood.

I liked it at this point but it still was missing something… Back to Pin with me to search even more about distressing wood. I found lots of different methods but nothing really jumped out at me. One thing I did find…again…too many pins to remember ALL of them…was about conditioning the wood with Coconut Oil. I have a secret love affair with Coconut Oil. I may need to do a whole post about it… Anywho, I grabbed my jug and got to conditioning. And it made a HUGE difference!! See!!


But I still wasn’t satisfied. Still missing more depth. Insert stain. I rubbed multiple colors of stain over the whole table top. Leading to this results.

At this point I left it alone for the night. OK for several nights…things happen…life gets busy!!
But I kept coming back to look at it…debating…it still didn’t feel right to me. I really liked the white & black patches but the rest just felt BLAH. I kept thinking about a Pin I found that talked about adding salt to the wet paint for distressing…but I have only found 1 Pin that said anything about adding salt to furniture. I found tons of Pins for adding salt to watercolors and the effect is really groovy but that’s a project for another day.
Thanksgiving morning I decided what the hell…why not?? Go for broke right?!?! What’s the worst that can happen?? I don’t like it and try something else?? Oh well… So since I really liked the white patches and the plan all along has been to paint the legs black I went for it and slapped on some white paint and salted the hell out of it. It looked so weird to have the salt on the wet paint, it just goes against everything I’ve always done. I mean seriously…I do everything within my power to make sure NOTHING get on the paint while it’s wet so I don’t ruin it…and now I’m purposely grating salt all over the paint. Oh I’m such a rebel!! God how I love breaking the rules!! I just know that’s what drew me into doing this method!! TeeHee!!


I let the paint & salt dry for a couple of hours before heading back out to sand. I didn’t want the paint to adhere too well and honestly I just couldn’t wait any longer to see how it worked. And it was completely dry so why wait?? Right?!?!
With virtually NO sanding, we’re talking 5 minutes to do the whole table top, and this is what happened –

Exactly what I wanted!! WOO HOO!! So stinkin excited!! It worked!!
Now to tackle the legs of the table…so NOT looking forward to this part!! Getting around all the legs, in all those little grooves, I just knew it was going to take forever and be nowhere near as fun at the top. Boy Oh Boy was I wrong!! Those legs were the easiest, I’m talking E-A-S-Y!!! One sanding pad and an hour total and the whole entire bottom was done. Thank heavens for one single coat of stain and no sealant, it practically just wiped off!! Saving some time on this project couldn’t come at a better time either. With just 2 short weeks till my parents are here for Christmas I have more than enough to do to keep me busy…finishing this project in record time is just what I needed!! SCORE!!

Don’t ya just love my makeshift table stand?? Gotta give Mr Man credit for that brilliant idea. He is such a smarty pants!! I was able to roll around the whole table on my little stool and sand everything eye level. Simply brilliant!! Saved me a lot of time and an achy back.
I know I said I was going to paint the legs black but I changed my mind…I do that…a lot… I just love staining wood. It’s so simple with the wipe on, wipe off method or rag staining. It’s so easy it’s really hard to fub it up, truly. So back to my trusty Espresso colored stain I go. Easy Breezy!!
So with only 2 hours of work I was able to sand the entire bottom of the table, paint the border of the table top with white Oopsie paint and then stain the whole table. Not to shabby at all!!
Glad I saved time on the legs of the table…I made it up with the chairs and then some!! I thought I was sooo close to finishing until I took a second look at the chairs. They were a bit more roughed up than I remembered, I hate it when that happens!!

So with no other choice I spent the majority of a day lightly sanding all 6 chairs in their entirety. WHEW!! My arms were like noodles when I was finally done!! And Boy OH Boy did they ache the next day…

BUT I didn’t have to stain them after just cleaned em up and rubbed em down with some trusty Coconut Oil and Viola!! Chairs complete!!!


Isn’t it A-MAZ-ING what the coconut oil does for the wood!! It cleans and adds moisture back into the wood, simultaneously. Love IT!!!
And so now… IT. IS. DONE.
Bye-Bye Bistro – Hello Family Table!!! Welcome to your new Home!!
I LOVE IT!!! She is everything I was hoping for and MORE!!


With Much Love
❤ Kristy

I like it but it is different you did a good job.
LikeLike
Beautiful!!!!
LikeLike
Thank You!! 😀
LikeLike